
While tying up a batch of streamers for a fly swap, GFF partner Bob Petti remembered an old tinsel trick that reduced some of the hand cramping thread wrapping that is all too common with long shanked streamers.
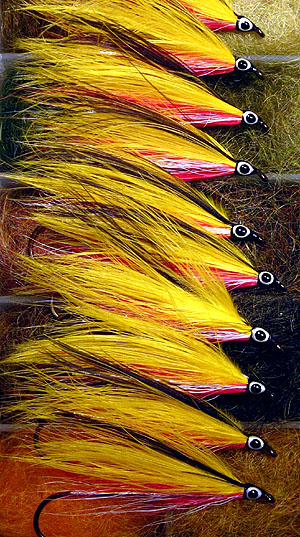
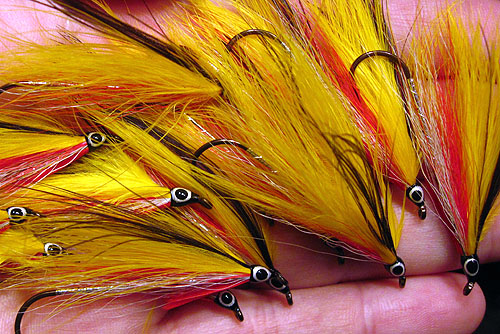
A batch of Yellow Marabou Specials
There are few operations in fly tying that will chew up a spool of thread faster than tying up some long shanked streamers. Depending on the pattern and style, you can go down and back along the shank a few times, and if your hand isn't cramping up by the time you're done, you've used up half your spool of thread and worn a groove in your bobbin. It is with that in mind that I present the following fly, with the intent purpose of showing a shortcut that will speed up the tying of this style of fly yet not risk the durability or looks.
The Yellow Marabou Special is a pattern by Jim Warner, one of the Godfathers of the American streamer style fly. He is the developer of the "10-feather"s tyle of streamer, and has also created a number of marabou winged trolling flies for his New England lakes and ponds. There is not much I can add to Jim's legacy that is not already told by Mike Martinek in his excellent article.
In the winter of '10-'11, a bunch of streamer heads started a fly swap to honor Jim's contribution fo the craft of streamer flies, and my contribution was the Yellow Marabou Special.
Of course, I had heard stories of Jim sorting through pounds of marabou (pounds!) looking for just the perfect feathers for his flies. Even before I started tying my set, I had that in mind and I got a bit of a
thick throat. I do not tie many marabou winged patterns, and I know for a fact that I would have a hard time finding marabou similar to what he used. The fact that I had a Yellow Marabou Special tied by Jim added to my worry - as I could feel the texture of the feathers and marvel at how he found such wonderful feathers sized for a number 2 trolling hook.
My salvation came in the way of Whiting's Bird Fur. I know - you guys are rolling your eyes already. This is not a product placement ad. I don't work for Whiting, have no financial interest in the company, yadda yadda
yadda. This ain't Top Chef and those aren't Glad baggies strategically placed in every background shot. It just so happens that I had two bags of yellow marabou and one "bird fur" from Whiting. The baggies of strung marabou were a total bust, as none of them had that silky smooth stemless feel that Jim's flies need. The Bird Fur, on the other hand, was just perfect. Phew.
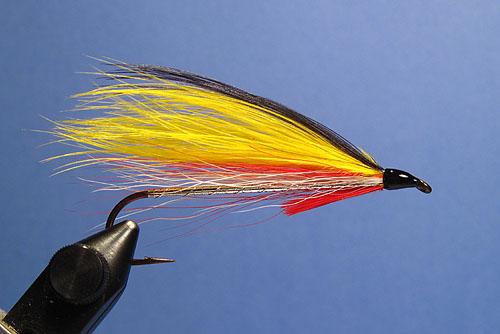
It's a beautiful pattern - enough so that I tied a few extras for my own fly box. Yellow has always been a good color for brown trout and I can see these being quite effective on some of my home waters. So on with
the fly!
Yellow Marabou Special
by Jim Warner
Hook: Streamer (in this case an old Sealy 8xl #3)
Thread: Black
Body: Silver Tinsel
Rib: Oval Silver
Wing: Sparse White Bucktail, Sparse Red Bucktail, then Yellow Marabou
Topping: Silver Pheasant Crest
Throat: Red Hackle
Head: Black, w/ painted eyes (pearl w/ black pupils)
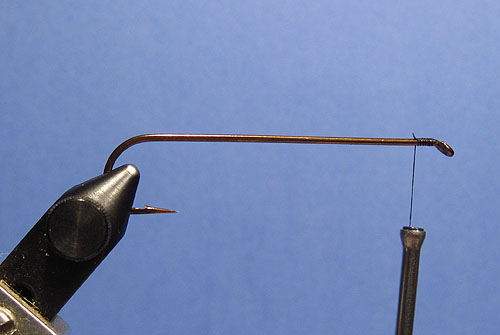
Start your black thread, but hold on. No need to wrap to the bend. Just start the thread, wind back an eye length and wait.
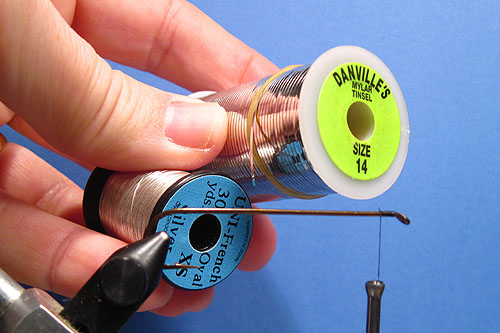
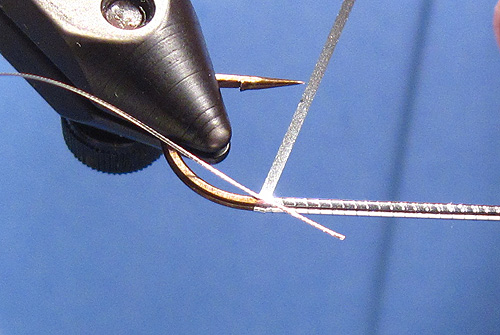
You're going to need two types of tinsel - in this case I used a #14 mylar and a XS oval silver. Pull off a LONG length of the mylar (yeah - a good foot - a hook this long eats a lot of tinsel), and also a good length of the ribbing tinsel. Make sure you have the ribbing tinsel handy - you'll need it in a minute and you won't want to fiddle looking for it.
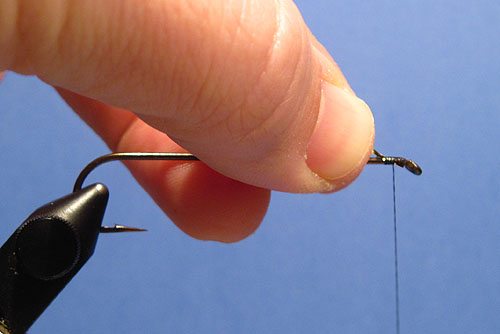
Tie the mylar in with a few turns heading toward the eye, and lock in with a half hitch. As always, since we want the silver showing, you tie it in with the silver next to the hook (gold showing) so it will flip with the first turn.
Wrap the tinsel to the end of the shank, above the barb or at the start of the bend. I don't use rotary features of the vise too often when actually wrapping materials, but this is a good instance where it can save some time. With no thread underneath the plastic mylar tinsel, the body is as smooth as you'll ever see. To get the same smoothness with a thread underbody, you'd have to stop every so often and untwist the thread, etc. etc., and it would take forever to finish just the tinsel body. Blech.

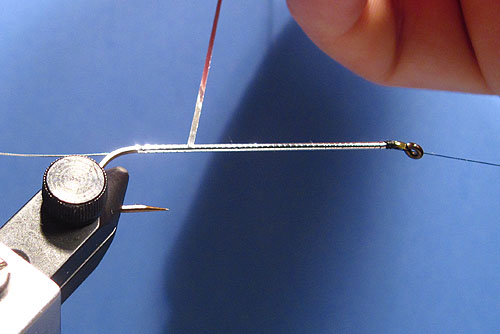
Here's the trick. Use the mylar to secure the ribbing tinsel. Mylar tinsel stretches and is plenty strong enough to secure the ribbing to meet any fishing situation. Believe me - if something fails on this fly it won't be because the ribbing was tied in with the mylar.
Continue wrapping your mylar forward, securing the ribbing tinsel.
Tie off with a few (three - not a few dozen) wraps of thread.
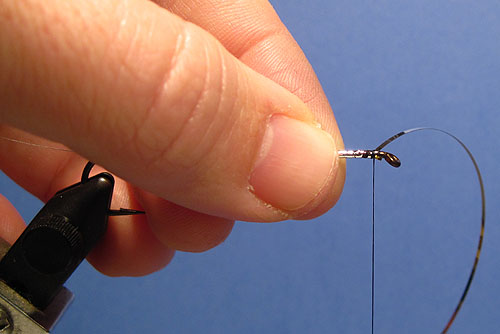
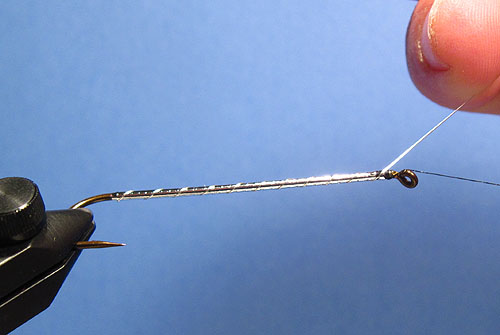
Wind the rib forward and tie off. I like to space the windings of the ribbing so that the last turn comes up from under the hook shank and is tied off on the near side. This moves the final turn of tinsel as far away from the head as possible, avoiding any bumps that can kick the wing out of alignment. Notice how smooth the body is - and there is no sign of where the ribbing tinsel was tied in.
If you're paranoid, now is the time to batch tie. At this point you can do a couple turn whip finish, clip the thread, and coat the body with nail polish or your varnish of choice. You can tie up a batch of bodies and
by the time you're done with the last one the first one is ready for the next steps.
Measure a sparse clump of white bucktail for length. Notice the tips are NOT stacked. Stacking the bucktail wings of streamers is a no-no. You should pluck out the outliers, the long ones and the ones that flare to the side, and comb out the real shorties, but that's about it.
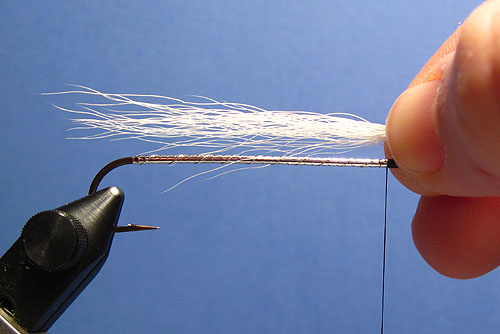
When tying in bucktail wings, I like to pre-clip the hair to the proper length. Be sure to clip the butts at and angle, which will help when forming the shape of the head.
Tie in the white bucktail with pinch-n-loop so that the butts reach to the back of the eye. Cover the butts with a smooth layer of thread, setting the foundation for the next layer.
Repeat with a layer of red bucktail, again making sure we're laying the foundation for the next lear and also making sure the head is taking on a proper shape. A single layer of thread is all it takes to make it right without adding bulk. Avoid making wraps of thread one on top of the other, as this adds bulk.
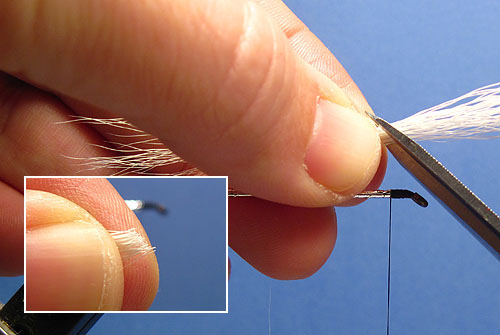
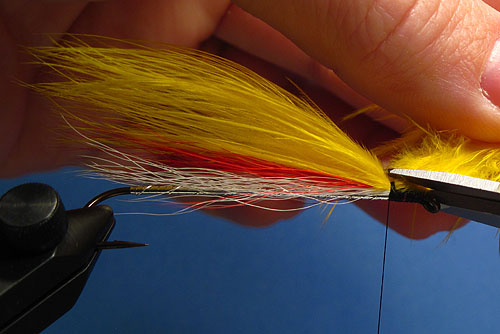
Measure your marabou against the underwing for length. You can see in this photo the texture and "stemless" quality of this particular patch of bird fur. Not all of them are like this - so I was lucky that I had one in yellow for this fly.

I do not pre-clip marabou. I tie it in with a good half dozen tight wraps of threads then clip the butts. This prevents loose marabou from floating around my tying room, and also makes me sure that all the marabou fibers are secured. The butts of a marabou wing are not as distinct as what you would get with bucktail, so pre-clipping has never worked as well for me.
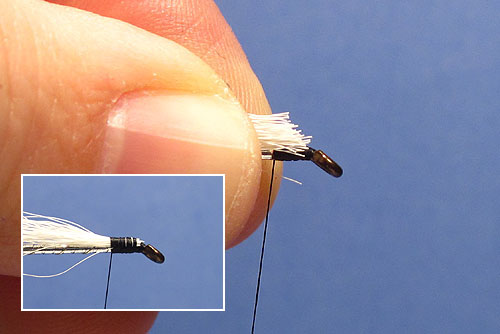
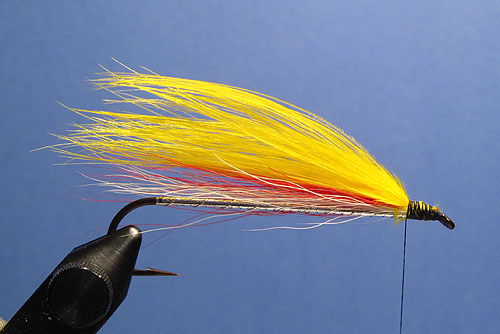
The yellow wing is done and the head is prepared for the next materials.
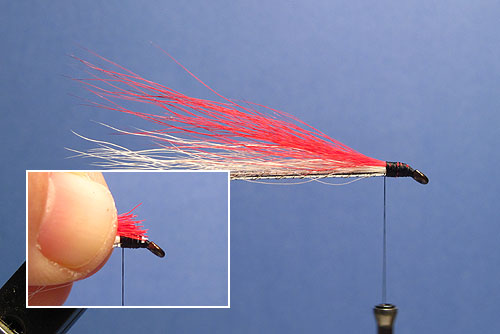
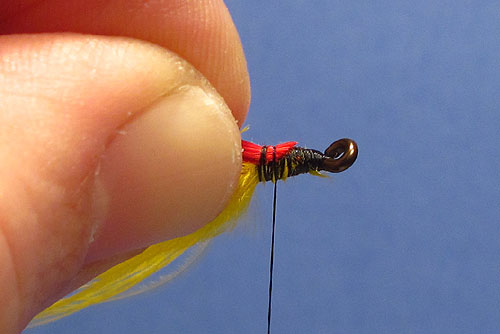
Add the throat of red hackle. Again, I pre-clip these as it makes it easier to tie in and saves trying to fit the scissors under the fly next to the down-turned eye.
Select a Silver Pheasant crest feather that has a nice curve and appropriate length. Unlike Golden Pheasant Crest, Silver Pheasant Crest feathers are very soft and silky without any stiffness at all.
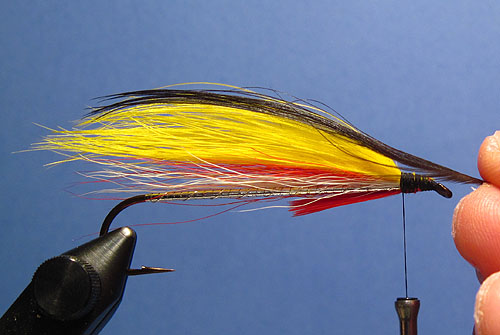
Tie in the topping at the back of the head with a few firm turns of thread. Almost done.

Shape the head, whip finish, and apply a thin coat of cement in preparation for the eyes.
Paint the eyes on the heads of the flies. For more on adding eyes to streamer, go here. In this case, the pattern called for pearl eyes with black pupils. The pearl paint I had was not quite opaque, so I did white, then pearl, then the black pupils. Came out nice, I think.
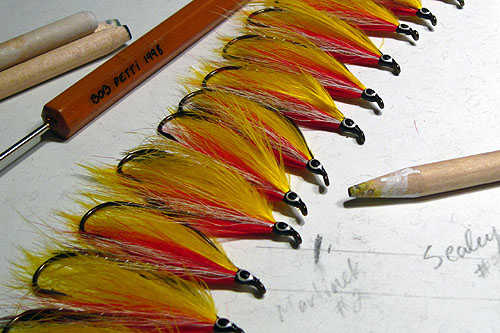
A handful of Yellow Marabou Specials. Pretty fly.
- Log in to post comments
