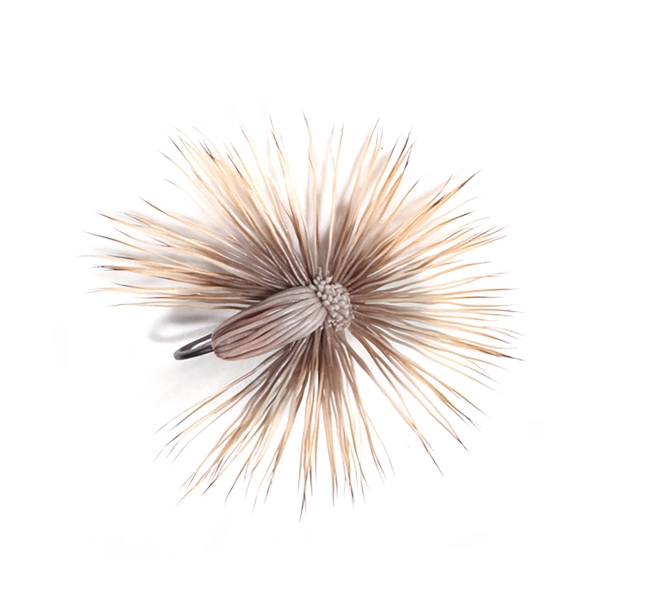
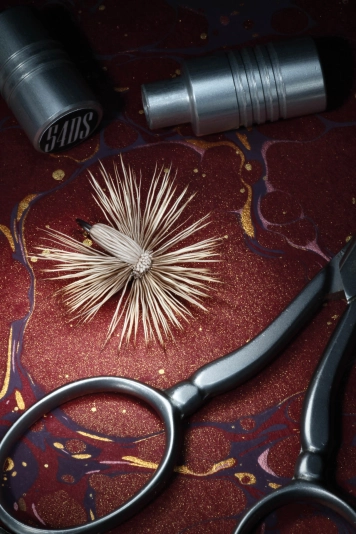
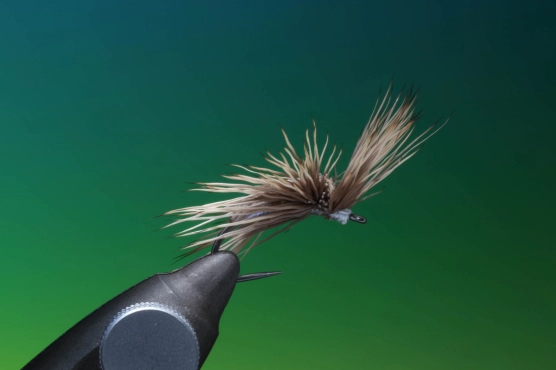
This great little innovative pattern is one from Charlie Craven, of Charlie’s Fly Box, in Arvada, Colorado. I just love this technique, and the use of the flared yearling elk hair for achieving maximum surface area contact.
Apparently inspired by larger steelhead skating patterns, such as bombers, the forward tilted wing makes the Screaming Banshee not only skate and wake when stripped but the tilt wing keeps the fly high and dry, while at the same time pushing water.
Although the original uses yearling elk for the front tilt wing, Craven recommends shorter finer coastal deer hair for the fluttering wings. Here I am using yearling elk for both, only because elk hair is more durable in the long run.
Even though originally designed as a skating pattern, the Screaming Banshee performs well as an all-round caddis pattern, and in smaller sizes, I’ve even had marked success with it during midge hatches.
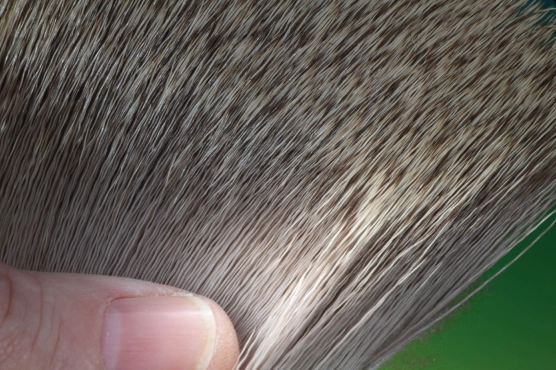
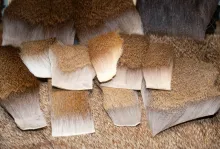
For the wings, choose yearling elk that has fine tapered, unbroken, marked tips. This will give the best results, aesthetically. Try and avoid short elk hair for the wings as this can make handling the hair during the tying process problematic.
This article is a sample from Barry Ord Clarke's upcoming book DEER HAIR Flytying Masterclass, due out in September 2026 from Merlin Unwin Books.
The book provides a detailed guide to the hair of 25 different deer species, covering its various uses, the necessary tools, and the techniques needed to master the material.
By pairing detailed print sequences with QR codes for Barry’s YouTube demonstrations, you get the ultimate learning experience: the precision of a book with the flow of a video masterclass.
The book features step-by-step instructions for over 40 of the best deer hair fishing flies plus comprehensive background on all the techniques and tools.
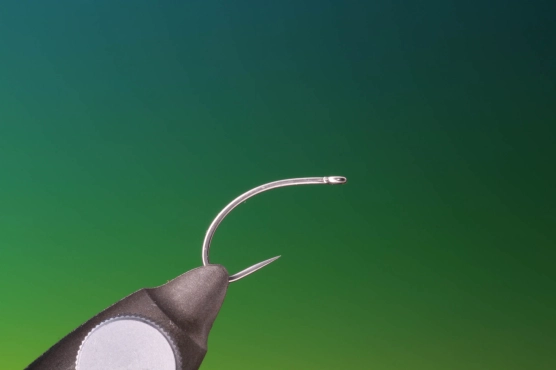
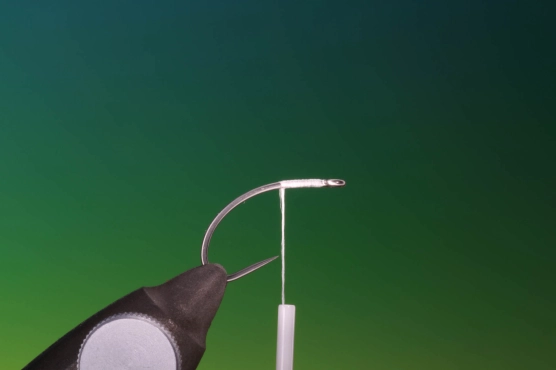
1. Secure your curved caddis hook in the jaws of the vice with the hook shank horizontal.
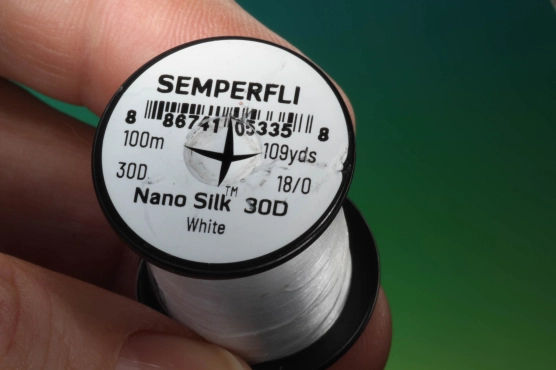
2. Here I am using Nano silk 18/0 30D for this pattern.
3. Attach the tying thread to the front of the hook and wrap a short foundation as shown.
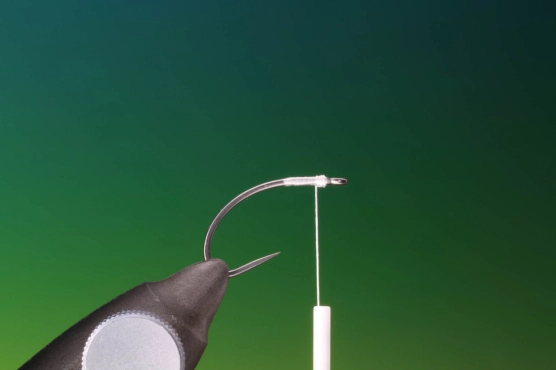
4. Run your tying thread forwards again and make a few wraps, right behind the hook eye. This will function as a stopper.
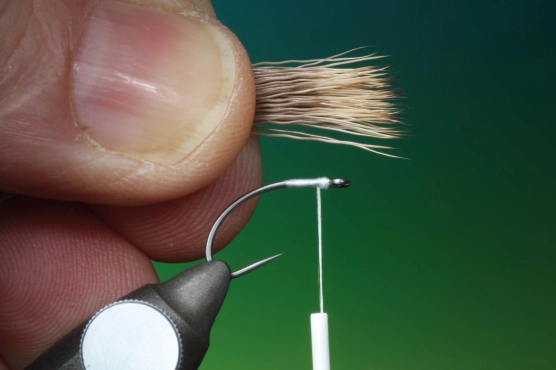
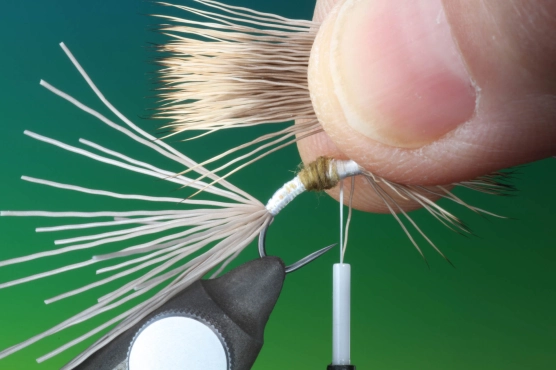
5. Select some yearling elk hair for the first wing. This should have fine tapered tips. It also helps if it’s long hair.
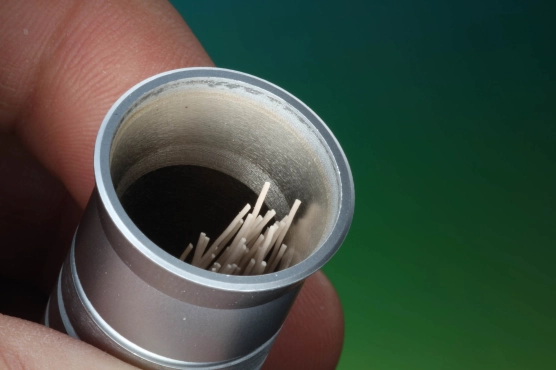
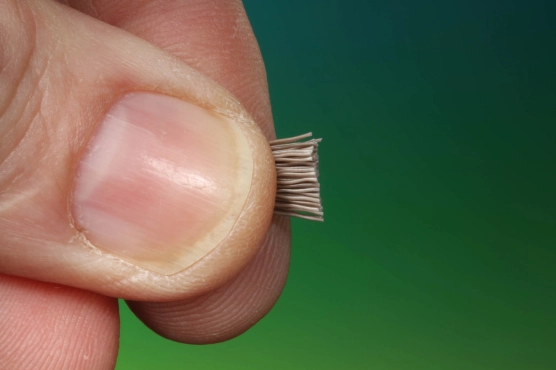
6. Cut, clean and stack a medium bunch; you should have a little more than you think you need.
7. Once you have evened the tips, remove the bunch from the stack, so it’s facing the correct way. This will stop you from having to change hands with the bunch. Measure the wing, same length as the hook shank.
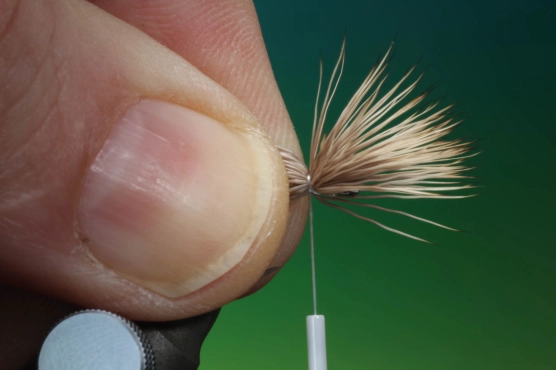
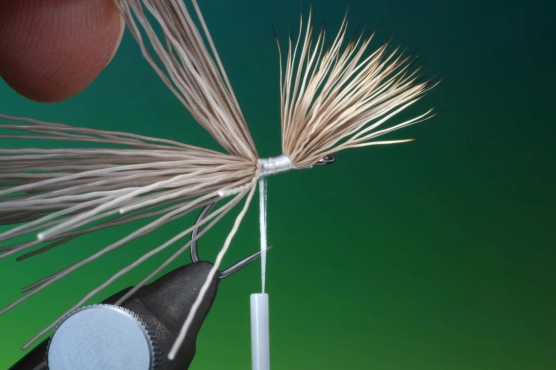
8. While holding the bunch in the correct position, tie into the tying thread stopper you made earlier. Make two loose wraps around the wing. While holding the wing on the backside of the hook, tighten the two loose loops by pulling your bobbin holder towards you.
9. While keeping hold of the elk hair, wrap your tying thread a little rearward, as shown.
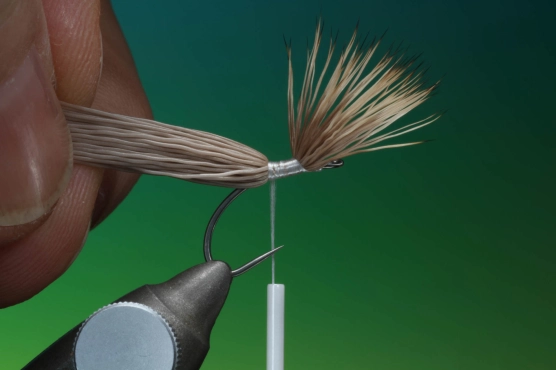
10. You can now release the elk hair. You will have to judge how much hair you will need for the shell back. Take a hold of a few hairs from the top of the bunch as illustrated.
11. Trim the bunch away tight into the thorax. If you need to remove more hair for the shell back, do it now, but only a little at a time.
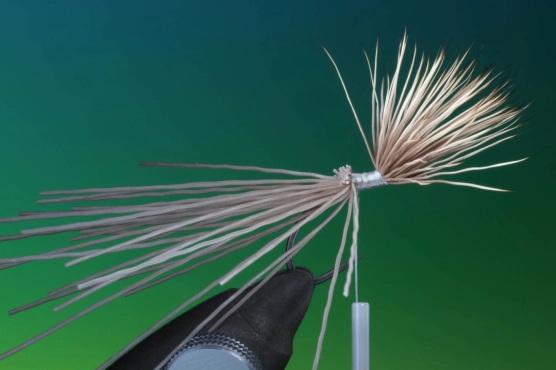
12. Once you are happy with the correct amount of hair, tie down the butt ends quite deep into the hook bend.
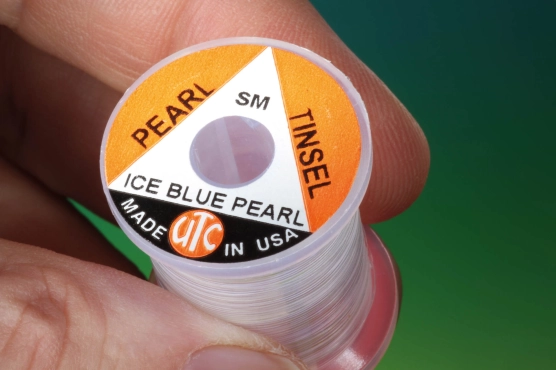
13. You will now need a length of pearl tinsel.
14. Tie the tinsel in at the thorax.
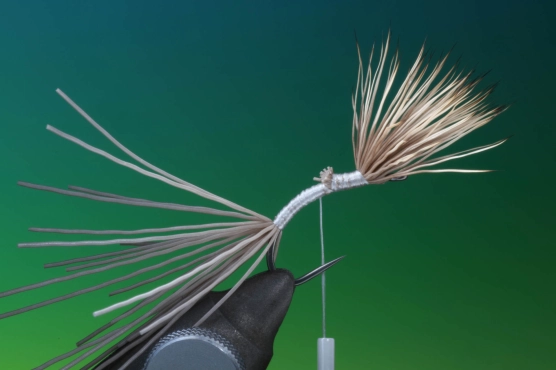
15. Wrap the tinsel, firstly down to the rear of the hook and then back up to the thorax. Tie off and remove the surplus tinsel.
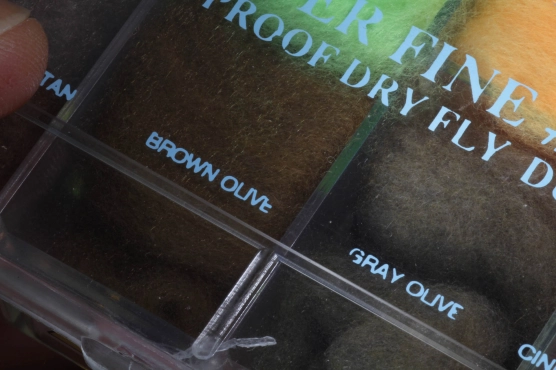
16. You will now need a little superfine dubbing in the colour of your choice. Although I use superfine here, I also like to use Ice dubbing for the thorax, for that little extra bling!
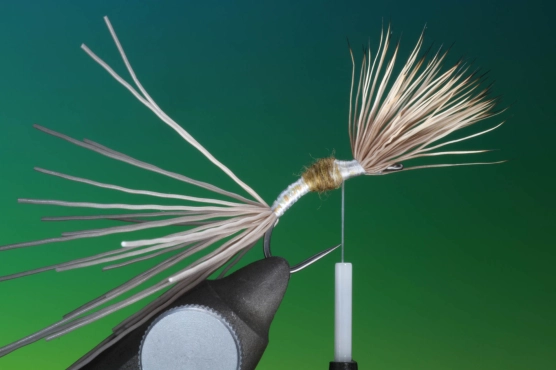
17. Spin a little amount of dubbing onto your tying thread and make a little ball of dubbing as shown. Less is more here.
18. Cut, clean and stack another bunch of yearling elk hair for the fluttering wings. Once you have removed it from the stacker, measure the wing against the hook shank. Should be the same length as the front wing.
19. Once you have measured the bunch, marking the position with your fingers grip, trim away the butt ends, straight.
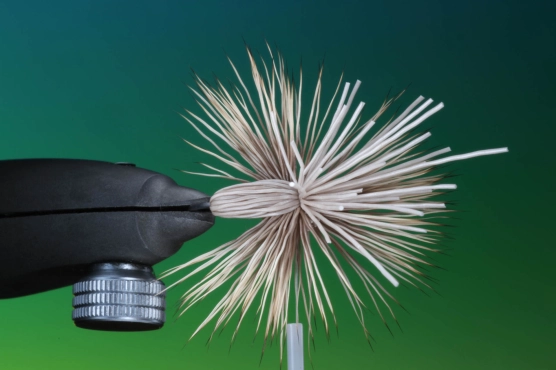
20. While holding the bunch in the correct position, make two loose wraps around the bunch. While holding the bunch on the backside of the hook, tighten the two loose loops by pulling your bobbin holder towards you. The wing will flare, rather like that on an Elk Hair Caddis.
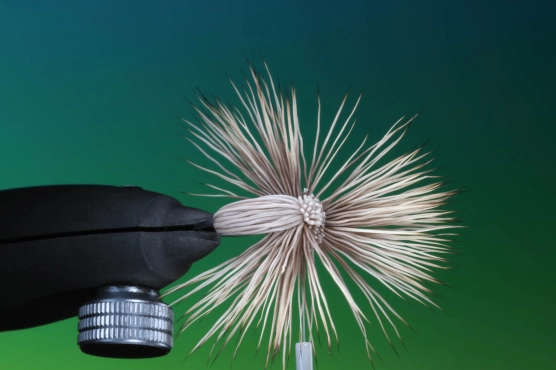
21. Make a couple of tight wraps through the trimmed butts, to secure the wing.
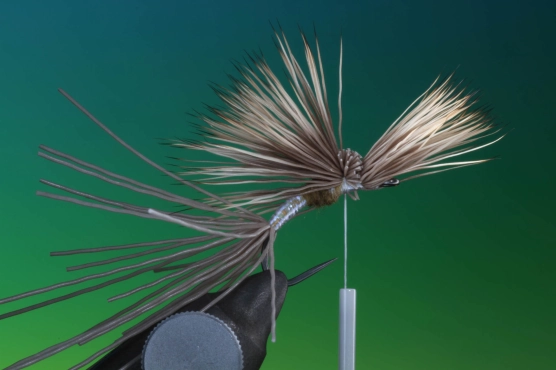
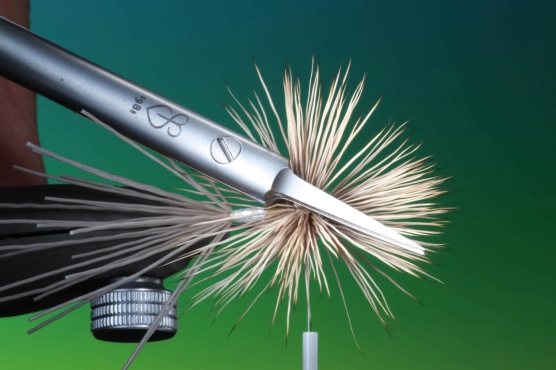
22. Once the wing is secure, split the wing into two equal bunches, or as near as possible. This can be done by using the flat edge of your scissors.
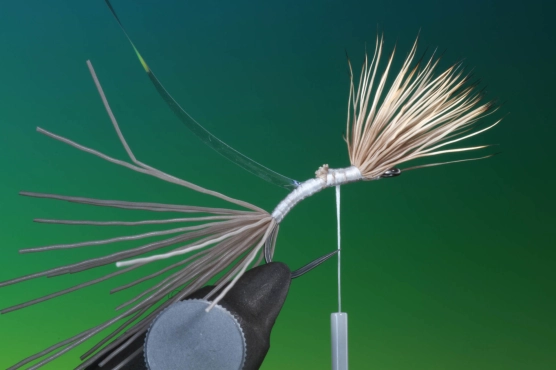
23. This can be the fiddly part. While the wings are split, take hold of the elk hair for the shell back, and fold it over the abdomen and between the two wings. Try and keep the hairs on the shell back parallel. Make a couple of wraps of tying thread to secure the shell back as shown.
24. Tie down the shell back and trim away the surplus elk hair butts tight into the thorax, so that it forms a small head as shown.
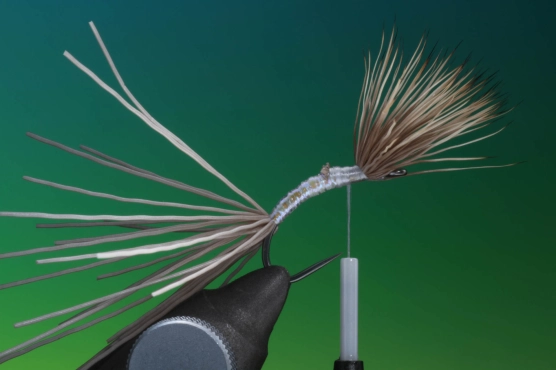
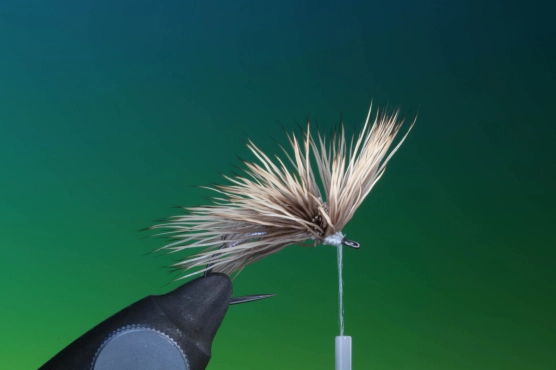
25. Bring your tying thread forward in front of the wing and build up a little stopper of tying thread, to lift the wing ever so slightly.
26. Make a couple of whip finishes, and place a drop of head cement on the head of the fly.
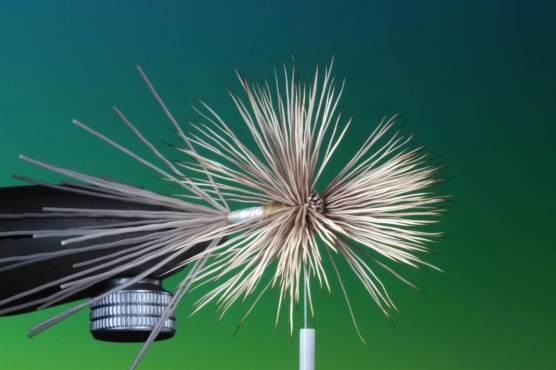
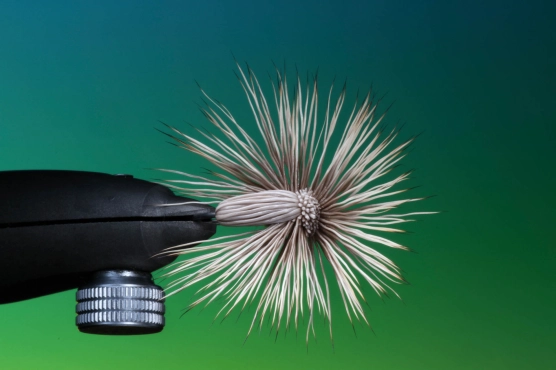
27. The aerial view of the nearly 360 degree wing of the Screaming Banshee, showing just how much surface contact the fly will have when fished.
The Global FlyFisher has been online since the mid-90's and has been free to access for everybody since day one – and will stay free for as long as I run it.
But that doesn't mean that it's free to run.
It costs money to drive a large site like this. See more details about what you can do to help in this blog post.